Whether you’re brand new here or have been with DaSilva Life for a while, it’s no secret that I, Kristi, absolutely loveClickUp. I’m a full-blown fangirl, and I have been for years. Why? Because it’s a tool that can change your business and your life. (And no, I’m not exaggerating!)
Despite all of that, though, I’ll be the first to admit that ClickUp can come with a bit of a learning curve. When you’re new to ClickUp or switching from another project management tool like Asana, it can seem really intimidating and make you want to run back to your old project management tool – even though it doesn’t quite work the way you need it to.
But I promise: With a little bit of practice and patience, you can become a ClickUp pro in no time, and you’ll never look back at Asana or your other PM tool.
To make your transition from Asana to ClickUp smooth, we have to go back to the basics. And one of those basics is a feature inside ClickUp called Spaces. If you’re not familiar with Spaces – that’s totally fine! It’s one of the most basic (and best) features of ClickUp, and it’s the first thing I tell everyone to set up. They work mostly like Projects in Asana
So, watch the video below where I walk you through step-by-step how to create a new space, how to create and organize lists within your space, and how to navigate all of the different views ClickUp offers, so you can see what they look like and which one works best for you.
If you don’t have time to watch now, read on below to learn more!
On the left-hand side of ClickUp, you’ll see an entire section called ‘Spaces.’ That’s where you want to be. Underneath, simply click the button that says ‘+ NEW SPACE,’ and you’ll be prompted to enter your Space Name.
I always recommend using your business name or your first name. For me, my space is simply named ‘Kristi’s Space.’ That’s because it’s where I house my business and personal to-do lists. But you can name it whatever you want (as long as you remember everything within it!). Treat this just like you would Projects in Asana, whether it's a team project with all your individual projects inside or an individual project where you have a certain client or internal focus.
From there, you can choose a color and avatar to make your Space even more unique to you!
Once you name your Space, you’ll be prompted to choose your task statuses. Again, I always recommend starting as simple as possible, so I select ‘To-Do’ and ‘Complete' to match Asana and other PM tools as much as possible.

Once you select those options, you’ll be brought to the next screen where it asks which ClickApps you want to enable. I always turn them all OFF, then turn them back ON using the small toggle at the top.
Let me be clear here: You don’t have to know what all of these ClickApps are or even use them right away. By enabling all of them, you’re essentially enabling full access and permissions within your Space, so you don’t face any hurdles in the future.
Next, it’s time to choose your default view. Now, I cannot stress this enough: Just choose one view (List) to start. That’s because starting with so many views at once is the quickest way to get overwhelmed inside ClickUp.
I always recommend just starting with ‘List’ view. It’s simple, easy to read, and mimics Asana's main view the most. That way, everything still feels somewhat familiar. Then, as you become more comfortable navigating ClickUp, you can start to play around with the other views to see which ones work for you and which ones don’t.

Congrats! You’ve officially created a Space! Now it’s time to start building and organizing your task lists. My recommendation? Start with just two task lists:
Under each, you can start adding actual to-dos or some test ones to get the hang of it. For example, your lists might look like:
Business To Do
Personal to-do
From there, you can flesh out each task within your list. You can:

From there, you can start to play around with your lists by adding more views and filters to see which works best for you! Personally, I love adding ‘Calendar’ view to each of my lists. That way, I can see everything I have coming up for the week and the month.
If you want to see both task lists within your calendar view, simply add ‘Calendar’ view to your Space instead of your individual lists. Or, you can do both! This, in my opinion, is a much better way to jump between views than Asana's setup.

Another great thing about adding the ‘Calendar’ view to your entire space? You can pick and choose which tasks you see from which lists. So, you can choose to see all of your tasks, some of your tasks, or tasks from only one list at a time!
Hopefully, this simple step-by-step tutorial has been helpful, so you can start on the right foot as you navigate the switch from Asana to ClickUp. But I’ve found a way to make it even more simple for you…
A brand-new (and FREE!) ClickUp template! The Simple ClickUp System
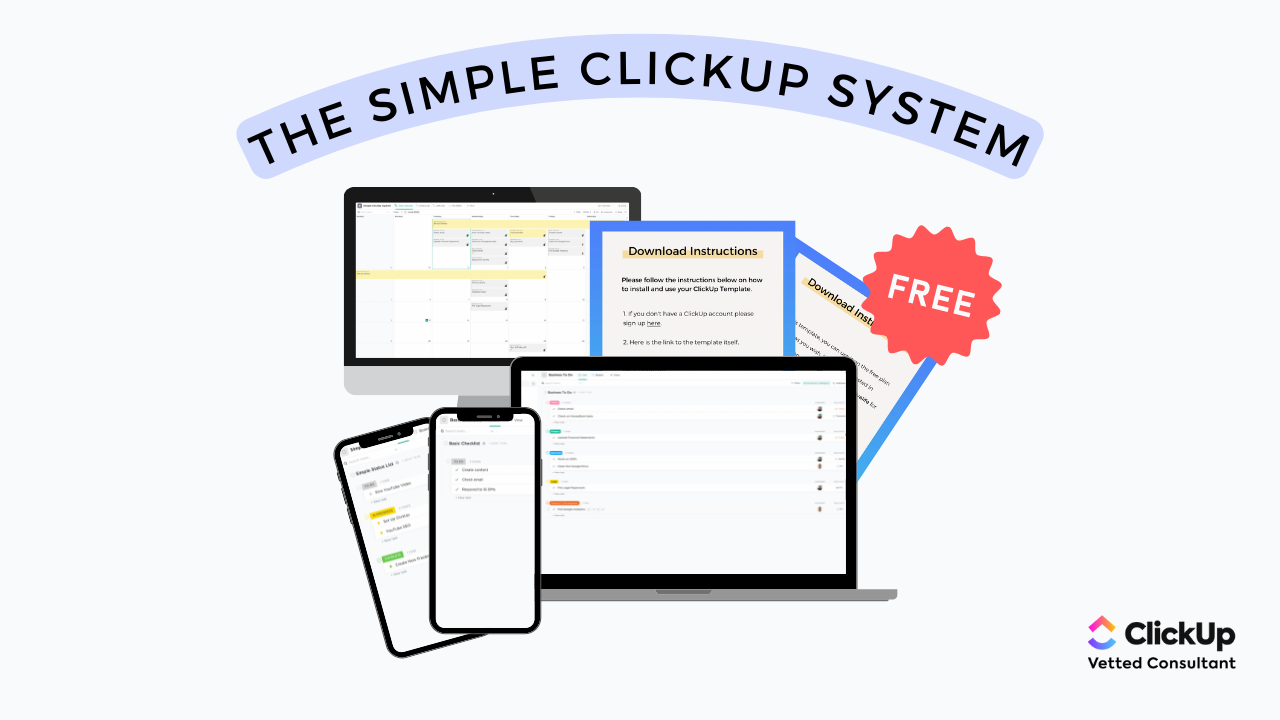
Everything we just walked through will be packaged into this FREE template The Simple ClickUp System, so you don’t have to go through each step manually – it’s already done for you! Download your template at the link below, and let me know what other quick tutorials you’d like to see within ClickUp!

.png)


.webp)


.svg)


.png)
.png)